A bit late posting the “thatching of the moss”, but it’s been a busy few days. I was on a little league coaching clinic on Thursday night, which was great fun and I learned a lot. Friday night was hockey. The Canucks lost, but it was fun to watch. This morning it was my youngests sons first baseball game of the season. I’m the assitant coach and it was a fun game. We lost, but it was fun. After that my older boy had his first soccer game of the season. IÂ was the lines person for the game and yes they lost too. Oh well, they say it comes in threes, so the Canucks should win on Sunday night 🙂

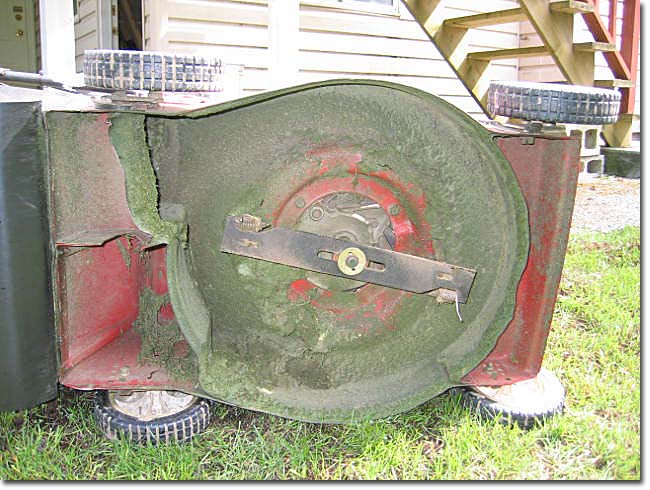
Installing the thatcher bladed on my lawn mower
Now back to the thatching. The day before I thatched I mowed the lawn. I thought that mowing the lawn would make it easier to thatch and I wouldn’t be pulling the grass out at the roots.
To thatch I removed the standard blade from the lawn mower and attached the “thatching blade”. The picture to the right is the lawn mower with the thatching blade attached. It looks like a rectangle piece of metal with springs on each end. I’ve used it before and it works well.
The thatching blade is shorter than the normal blade so I had to make sure that when I was thatching I crossed over the previous cut more than before. This ensures that the entire area is thatched.
The lawn mower thatcher worked very well and pulled up a lot of the dead moss. In some places I was worried that it worked too well, because there wasn’t much grass left behind. This was because there wasn’t much grass to begin with, just moss. If you didn’t read the previous post, I used a moss killer about a week ago to kill off the moss. The thatcher is to remove the dead moss. You could also thatching rake to remove the dead moss, but I decided this would take a long time and be a lot of work.
My plan was that the lawn mower thatcher would throw the dead moss into the lawn mower bag and it would be easy to deal with, but this wasn’t the case. It did a good job on removing the moss, but it didn’t go into the bag. So I was back to raking it up. I did a small area and my back was hurting. I decided to take a break and remove the thatching blade and re-attach the lawn mower blade. That’s when I got the great idea to run the lawn mower over the thatched moss and this worked really well, phew!
The only downside is that I had to frequently empty the lawn mower bag. When I mowed the grass the previous day I got two large bags of clippings. After thatching just the backyard I got six large bags of moss. But it is a lot easier than raking. The bags of grass clippings and moss will be composted for future dirt.

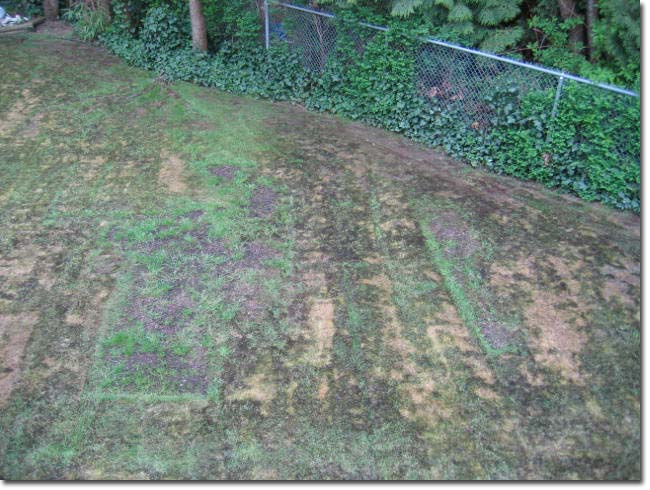
Picture of the lawn after the moss kill and thatching.
Here’s a picture to the left of the moss removed. It’s not looking good right now, but I feel pretty confident that the new grass will grow in and it will look great. This is one of those, it’s going to get worse before it get’s better….well I sure hope so. I’ll post a few picture in the coming weeks.
The one good thing is that the grass is starting to come in where the kid’s fort was.
Speak Your Mind